# Setting Event Start and End Dates
To set your event start and end dates use the datepicker interfaces provided by following the steps below.
# Setting a date
While on the Add New Event screen in the WordPress admin area, make sure you have the Document tab selected in the right hand sidebar:
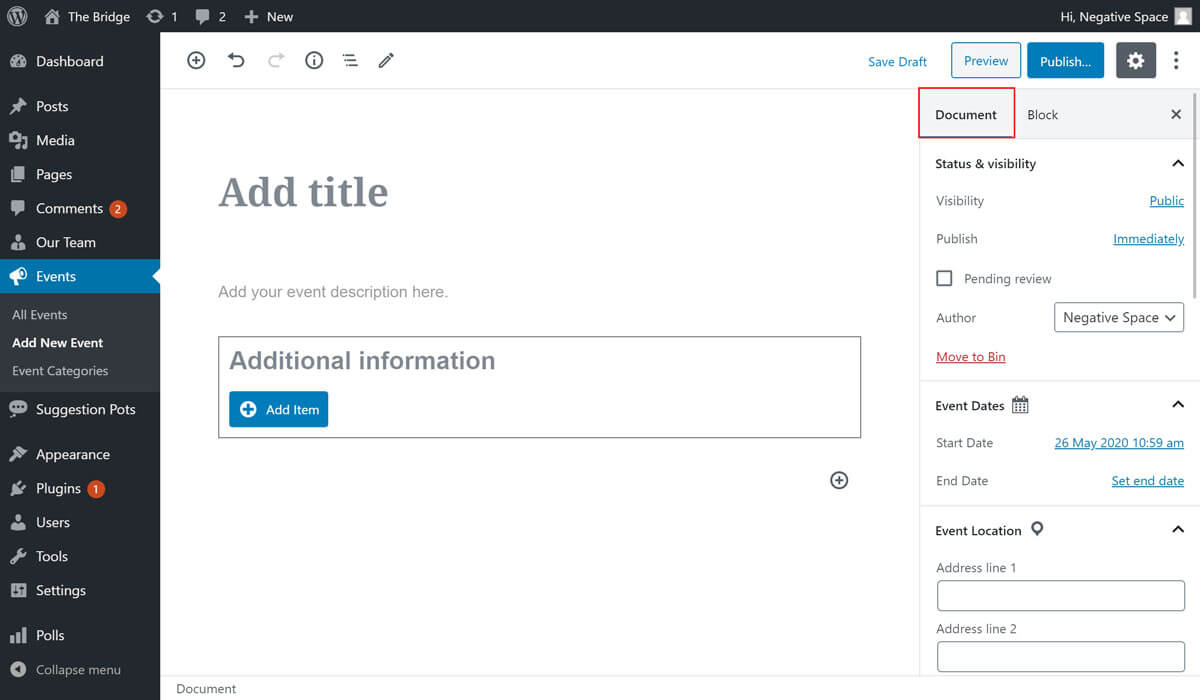
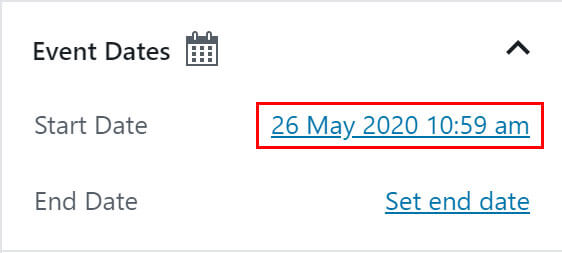
In the sidebar you'll notice a dropdown section with the title Event Dates. When this section is expanded it'll show clickable text representations of the event dates:
Click on the date that you want to add / change to show the datepicker interface. Use the interface to select an event date and time:
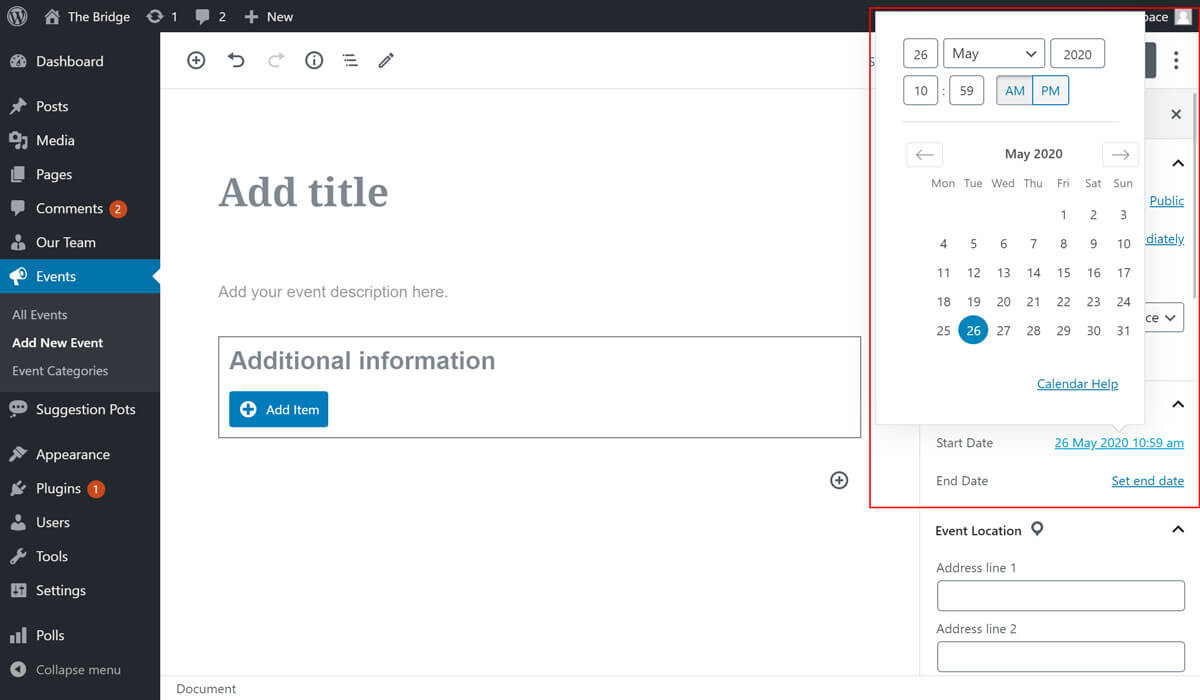
If the datepicker doesn't automatically close after you have selected the date, click outside of the datepicker to hide it. This will change the date and time of the event to your selection. You will need to set both the start and end date individually and click the Publish or Update button at the top of the screen in order for your dates to be applied.

# Things to be aware of
Only events with a start date in the future will be shown as part of the intranet site's event listings.